
Portable Water Heater: What You Need to Know Before You Buy
|
|
Time to read 8 min
 Skip to content
Cart
Your cart is empty
|
|
Time to read 8 min
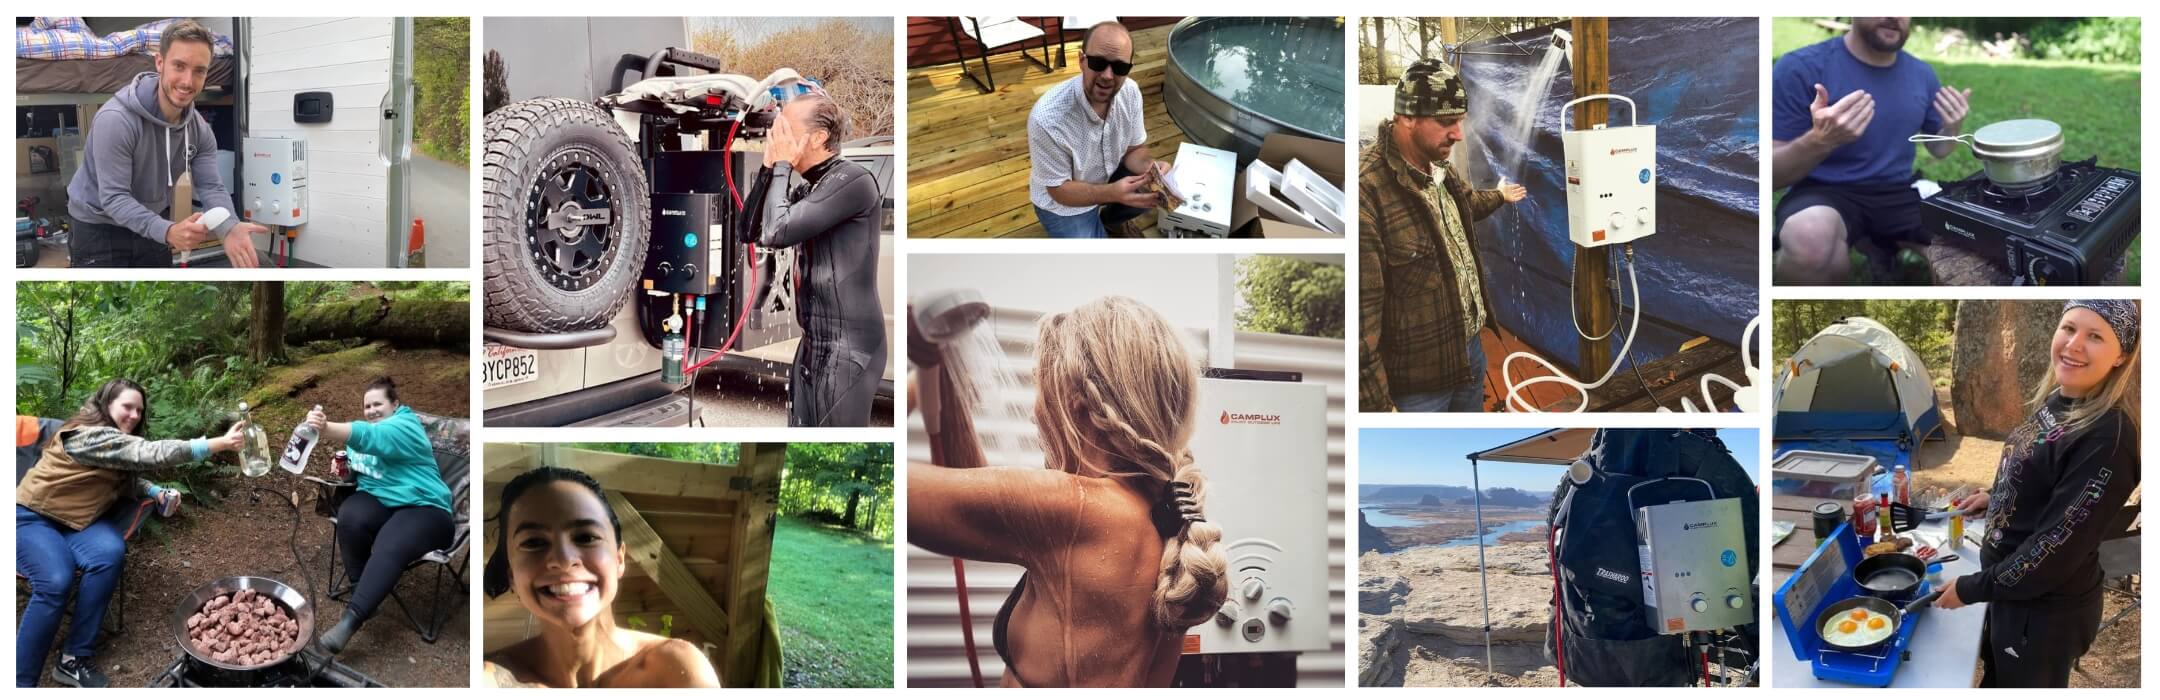
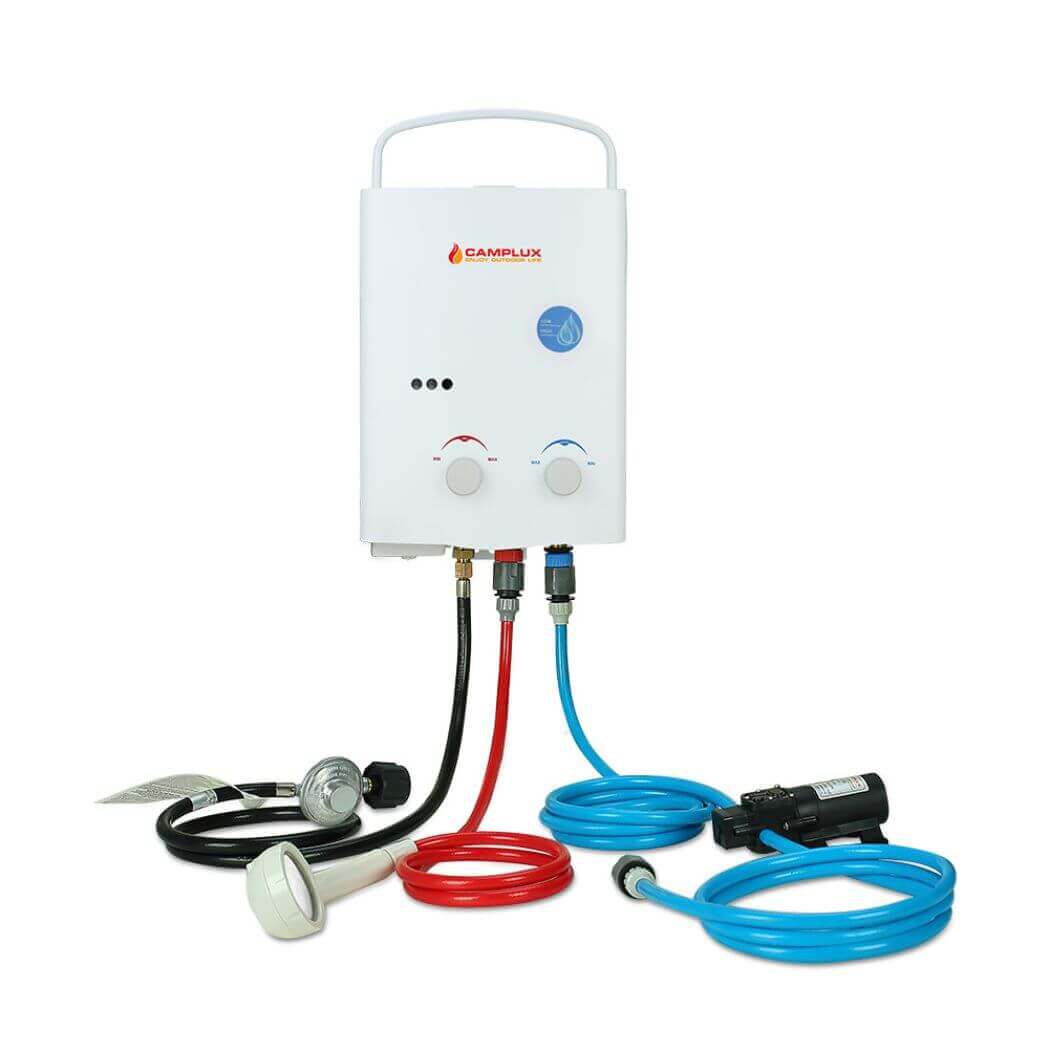
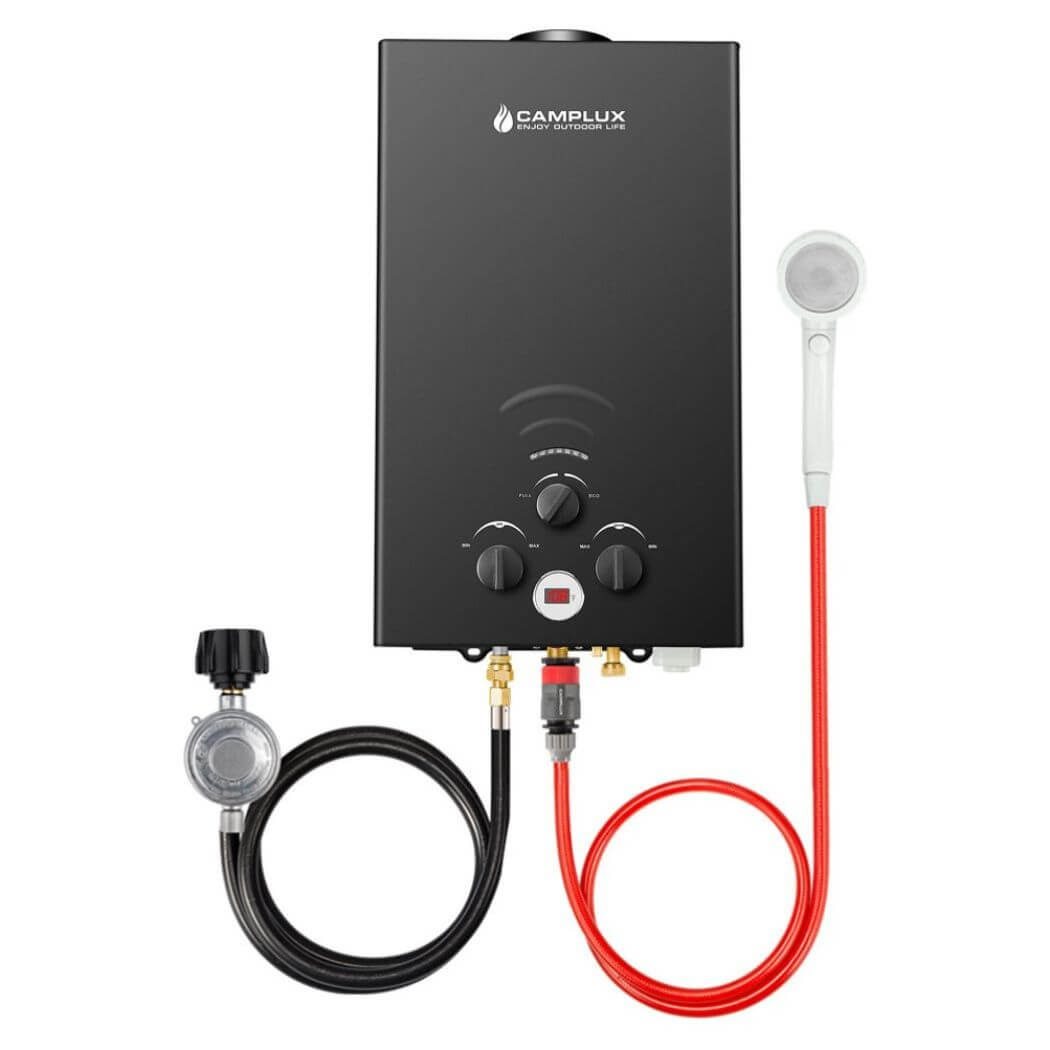
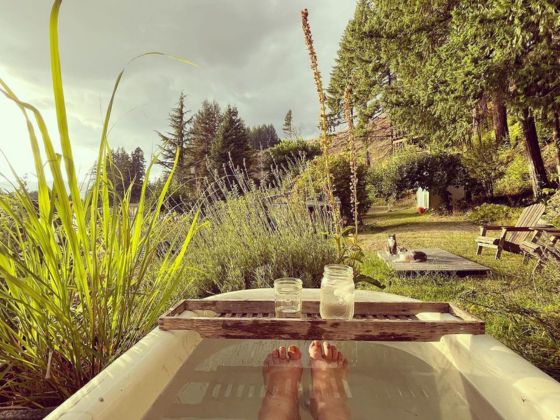
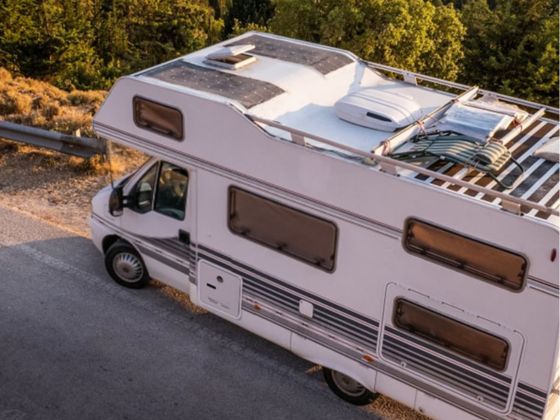
When it comes to off-grid camping, having a reliable and efficient portable water heater is essential. The Camplux Portable Water Heater is a popular choice among outdoor enthusiasts due to its portability and ease of use. Whether you're camping in the wilderness or enjoying a weekend getaway, these top tips will help you make the most of your Camplux Portable Water Heater.
Table of Content
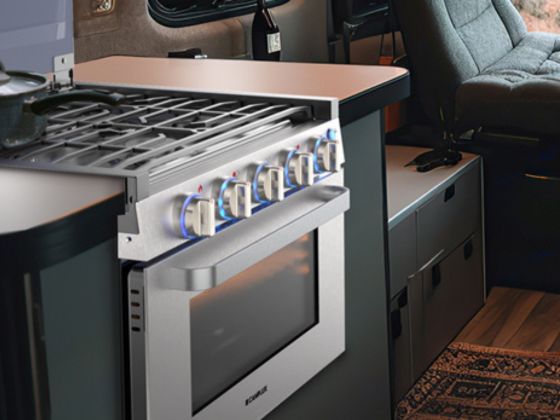
When choosing the right Portable Hot Water System, it's important to consider your water heating needs. Think about how much hot water you will need on your travels and for what purposes. Are you planning to use it for showering, cooking, or both? This will help you determine the capacity and power output required for the system. Additionally, consider the temperature range you will be traveling in, as some systems are designed for specific climates. Ensure that the system you choose can meet your water heating needs efficiently and effectively.
| Feature | Description |
|---|---|
| Compact Size | Easy to transport and store |
| Multiple Fuel Options | Versatile and adaptable |
When choosing a portable water heater, it is important to evaluate the heating capacity to ensure it meets your needs. The heating capacity determines how quickly the water will heat up and how much hot water can be produced. Consider factors such as the number of people using the heater and the desired water temperature.
It is recommended to choose a heater with a higher heating capacity if you have a larger group or if you prefer hotter water. To help you make an informed decision, refer to the table below that compares the required heating capacities for common utilities.
| Utility | Fixture Flow Rates |
|---|---|
| Showerhead | 1.25 ~ 2.5 GPM |
| Kitchen Faucet | 1.5 ~ 2.2 GPM |
| Tub Filler Faucet | 4 GPM |
In addition, check customer reviews to see if the heating capacity of a particular model is sufficient for your needs. Remember, a higher heating capacity will provide faster and more abundant hot water, ensuring a comfortable camping experience. As the saying goes, don't let a lack of hot water dampen your outdoor adventures!
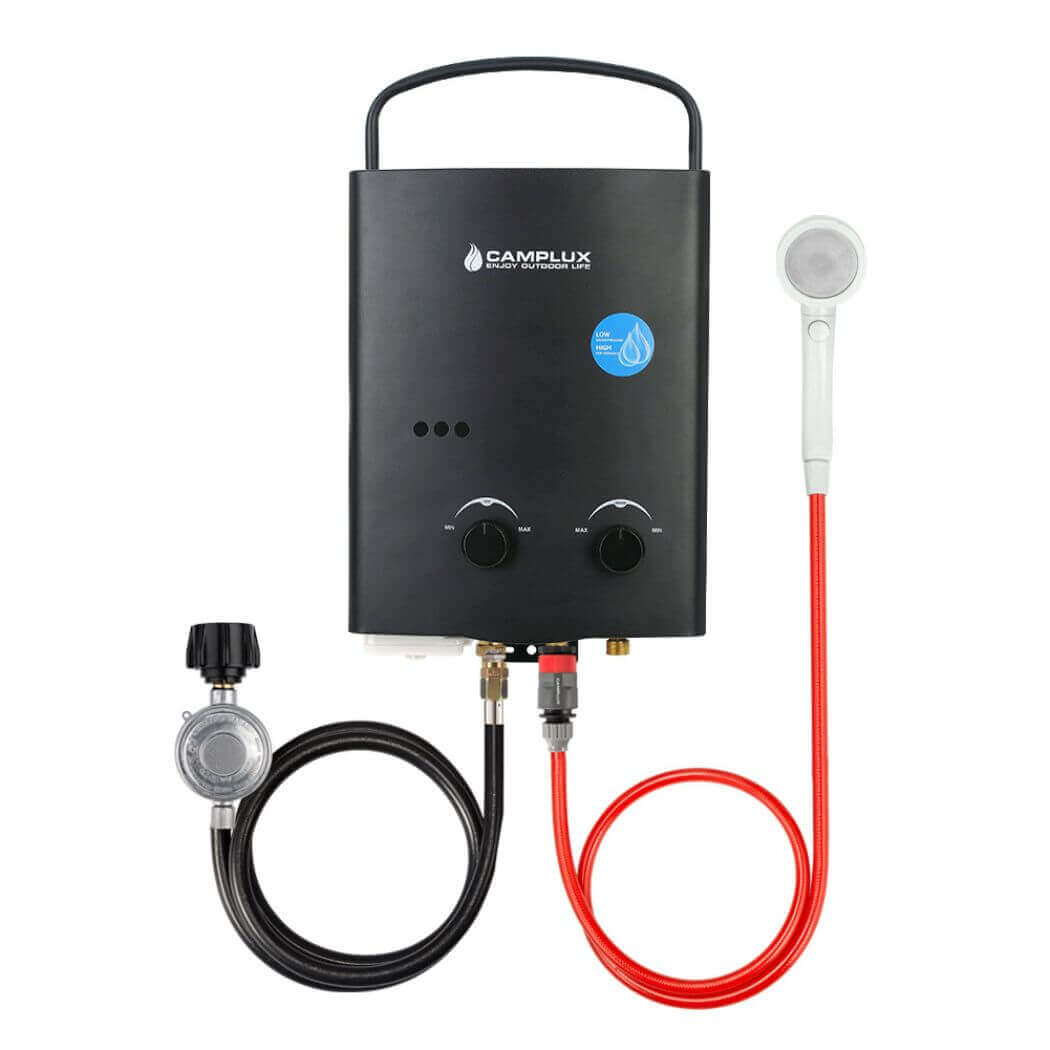
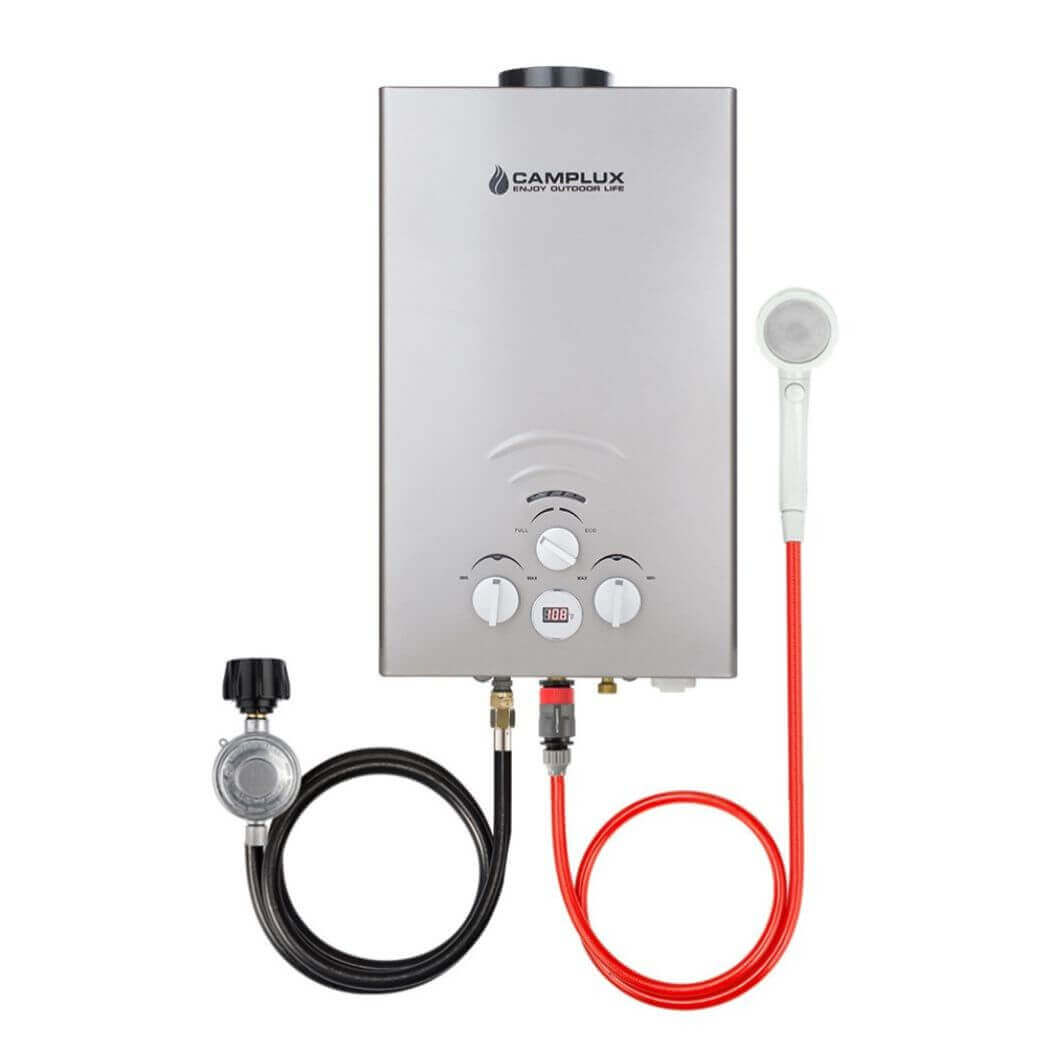
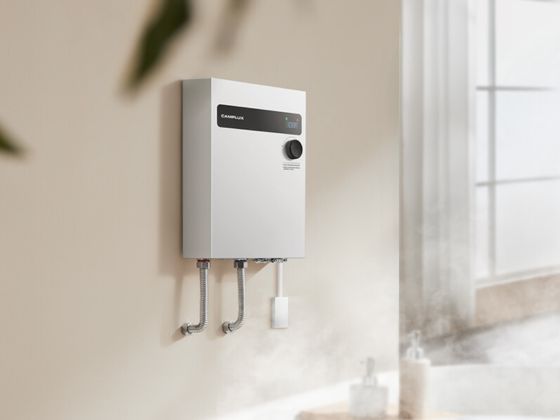
They are purpose-built for everyday use in the most demanding environments, from sun-baked construction sites, to cold mornings on the water or in the woods, and everything in between.
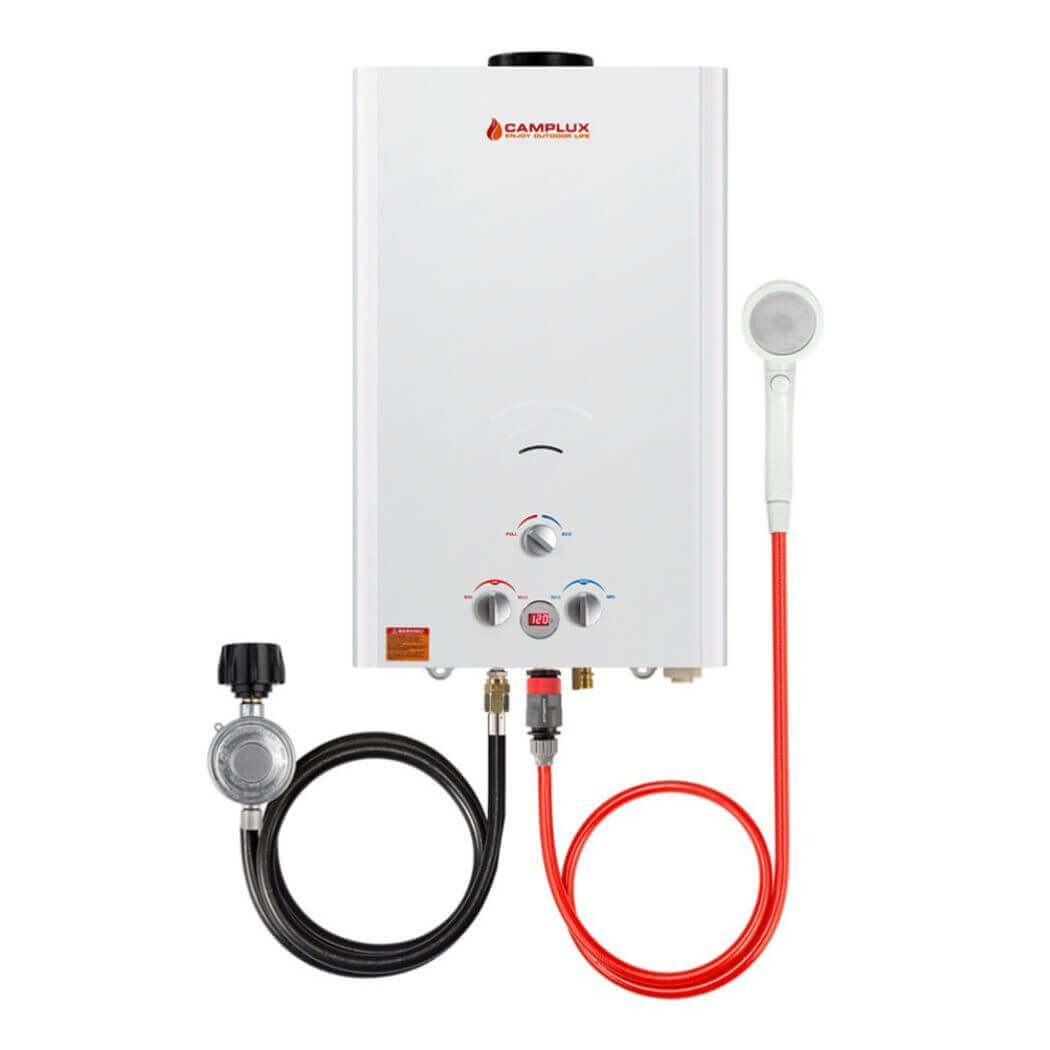
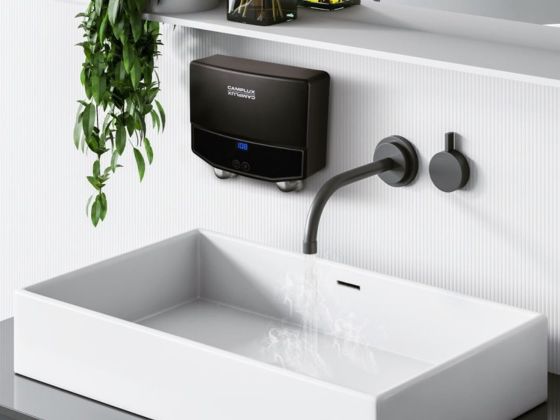
Digital Temperature Display

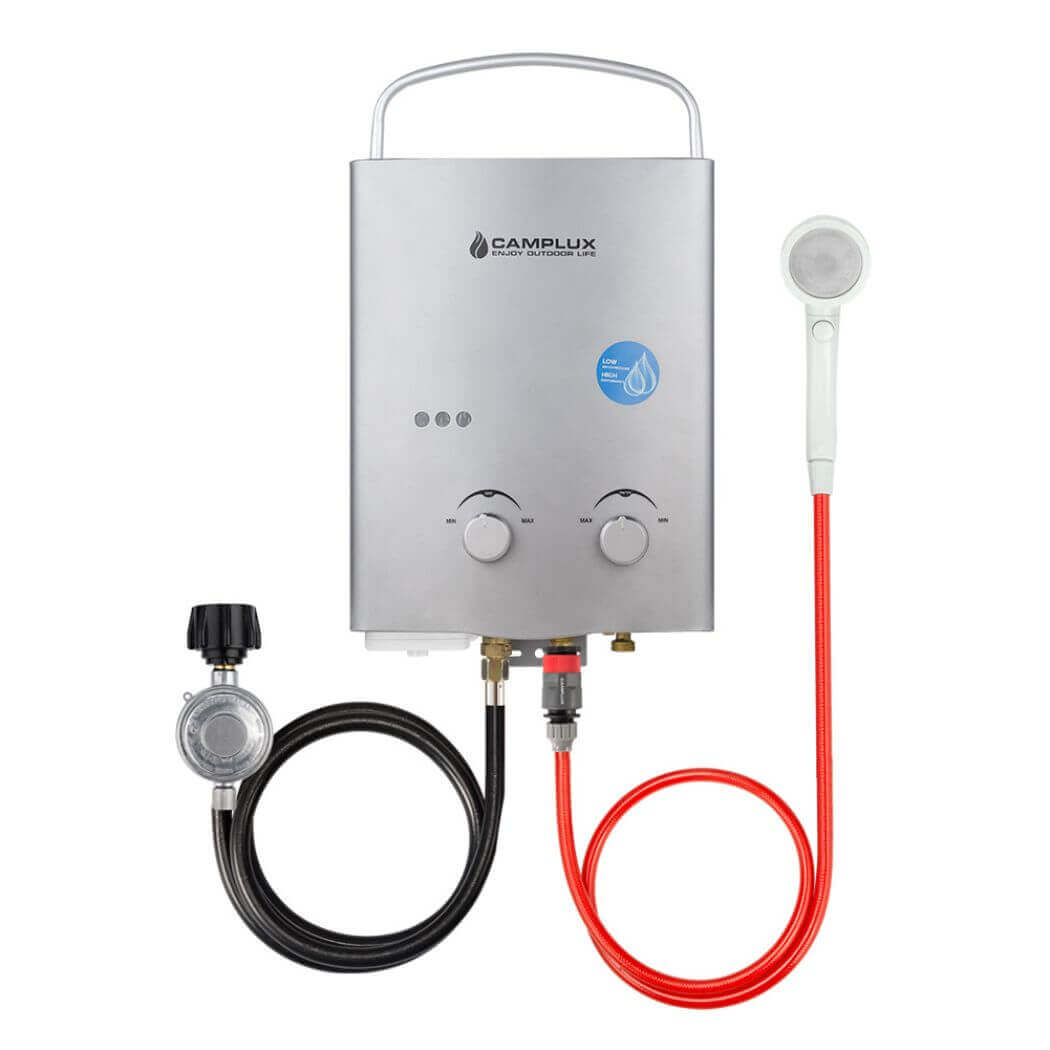
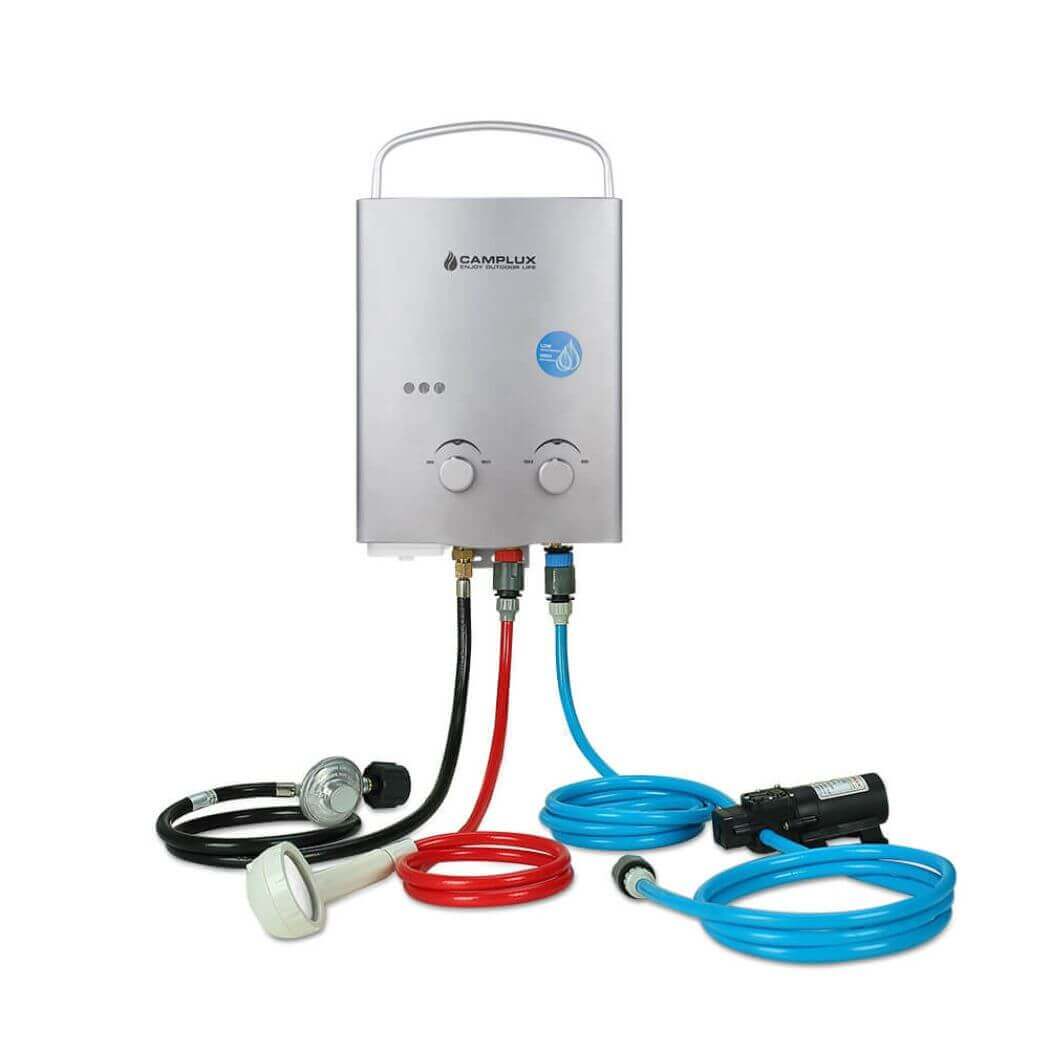
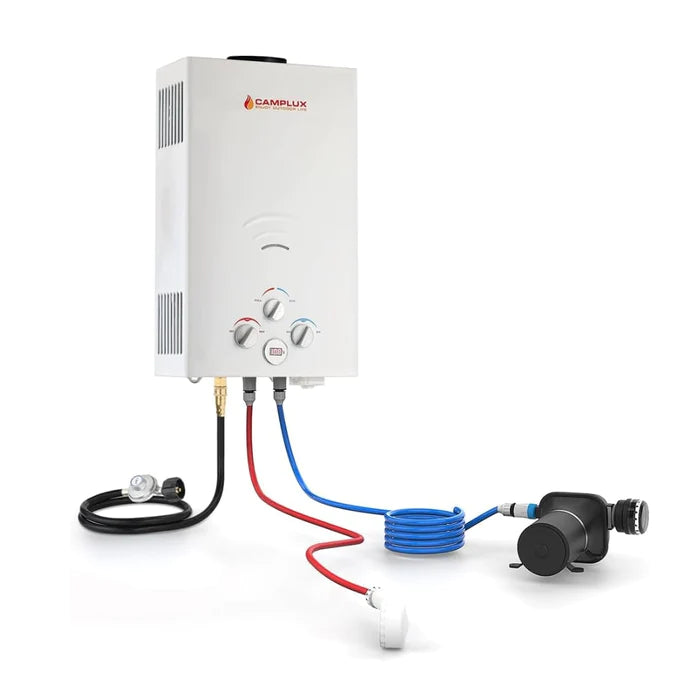
When considering the portability features of the Outdoor Water Heater, it is important to look for compact and lightweight designs that are easy to transport. Additionally, foldable handles and carry bags can make it even more convenient to carry the heater to your camping site. The table below summarizes the key portability features of the Camplux Outdoor Water Heater.
| Feature | Description |
|---|---|
| Compact Design | Takes up minimal space during transportation |
| Lightweight | Easy to carry and transport |
| Foldable Handles | Convenient for carrying and storage |
| Carry Bag | Provides protection and makes transportation easier |
It is essential to prioritize portability when choosing a water heater for off-grid camping. Having a portable heater allows you to enjoy hot water wherever you go. As the saying goes, 'Adventure awaits, so make sure you're prepared!'
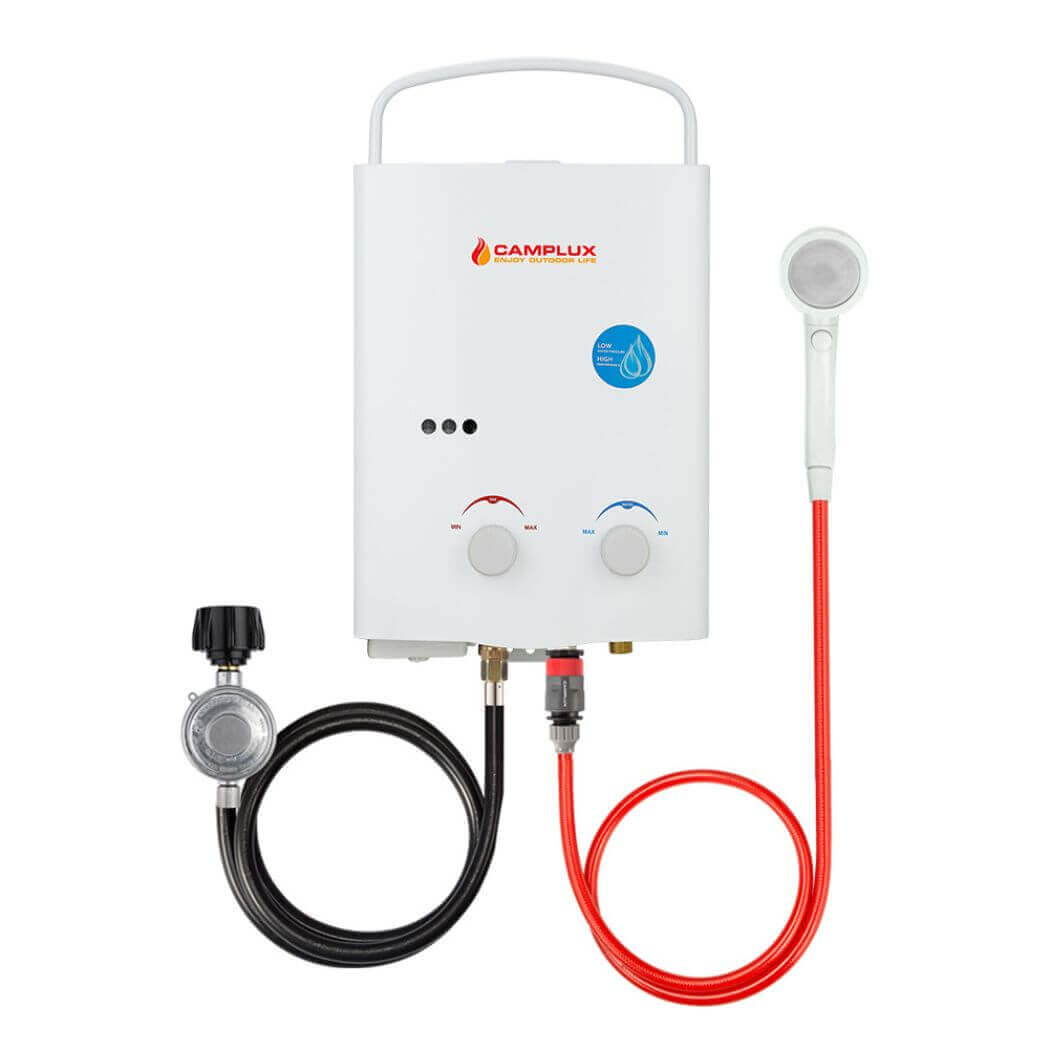
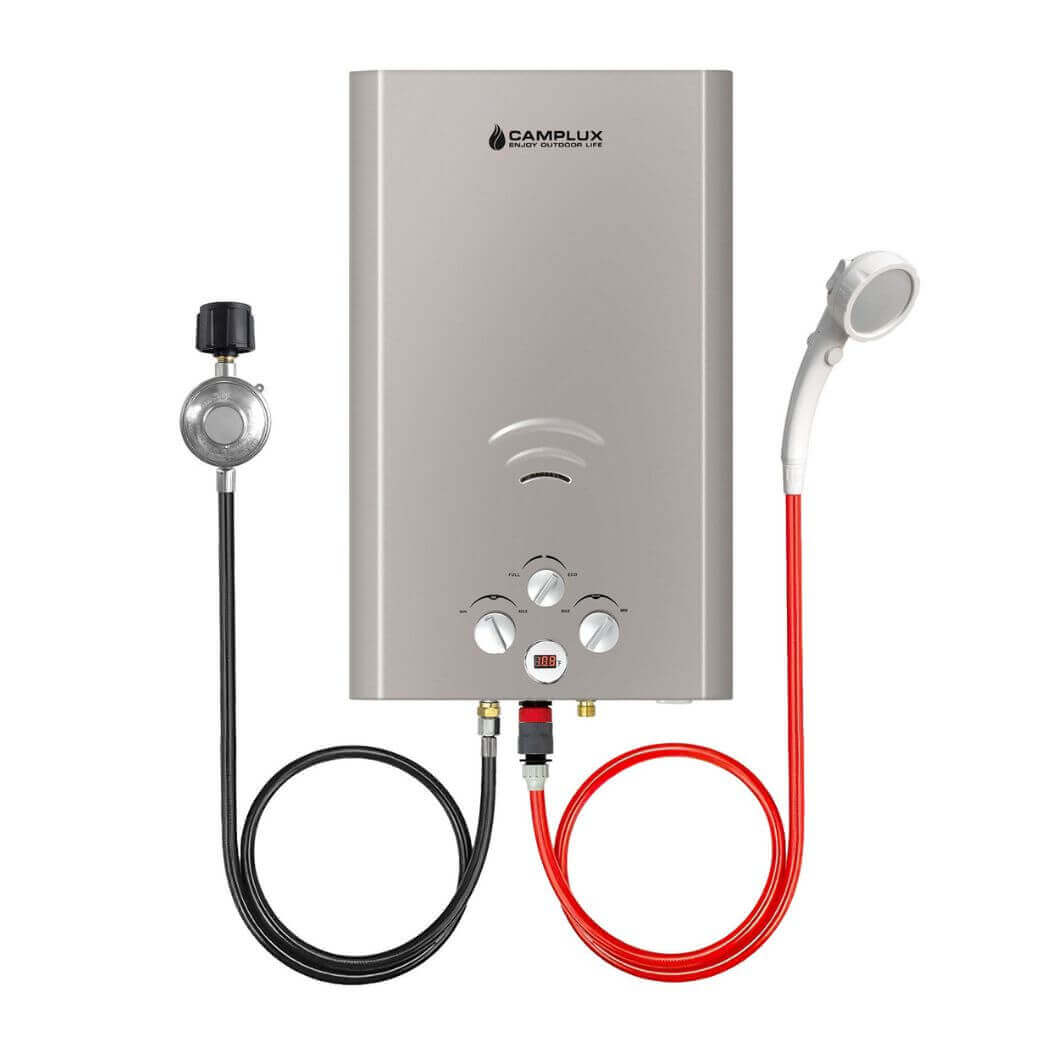
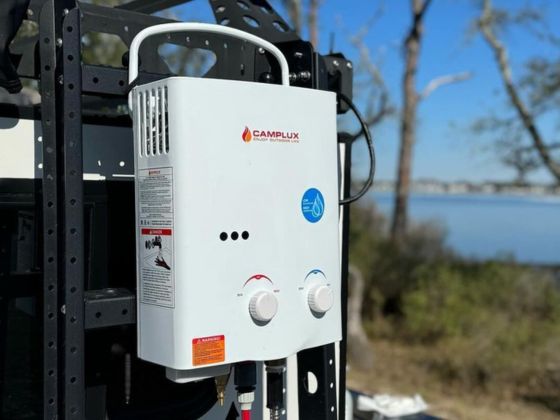
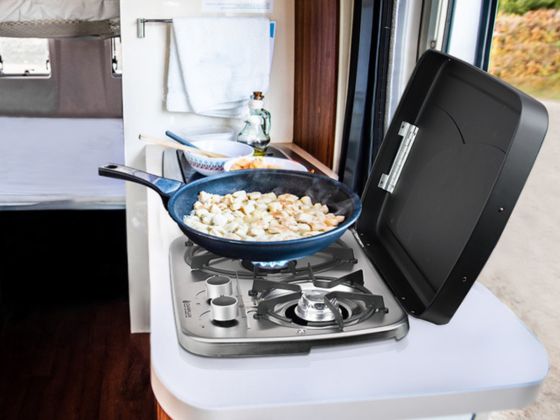
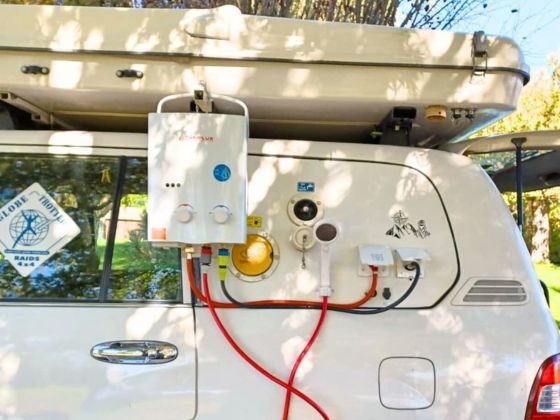
Explore everything nature has to offer, without roughing it. You can cruise the countryside in comfort and have hot water available anywhere you can take an LPG bottle.
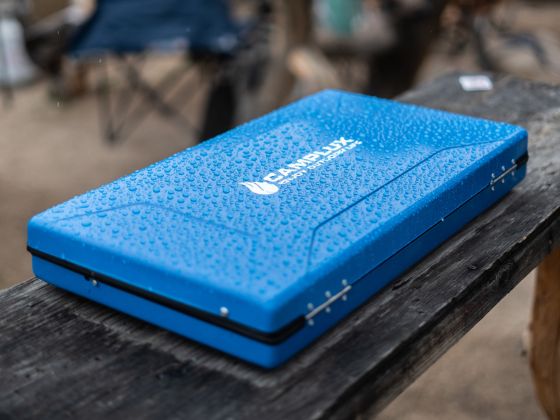
Comes with Carry Bag & Foldable Handles

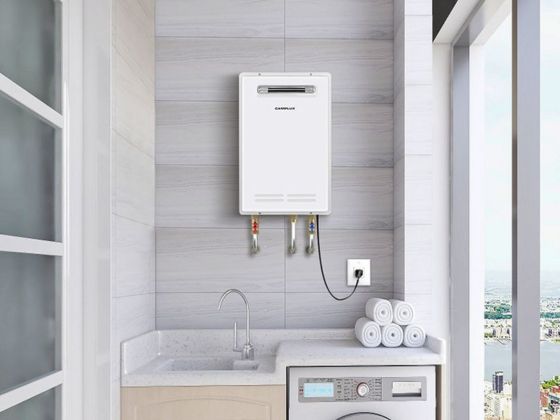
When setting up your Camplux outdoor water heater, it is important to find a suitable location that meets the necessary requirements. Look for a flat and stable surface that can support the weight of the heater. Ensure that the area is well-ventilated to prevent any gas buildup. Additionally, keep in mind that the heater should be positioned close to a water source for easy access. Consider using a table to organize the necessary items and tools for the setup process:
| Item | Quantity |
|---|---|
| Camplux Outdoor Water Heater | 1 |
| Gas Supply Hose | 1 |
| Shower Head | 1 |
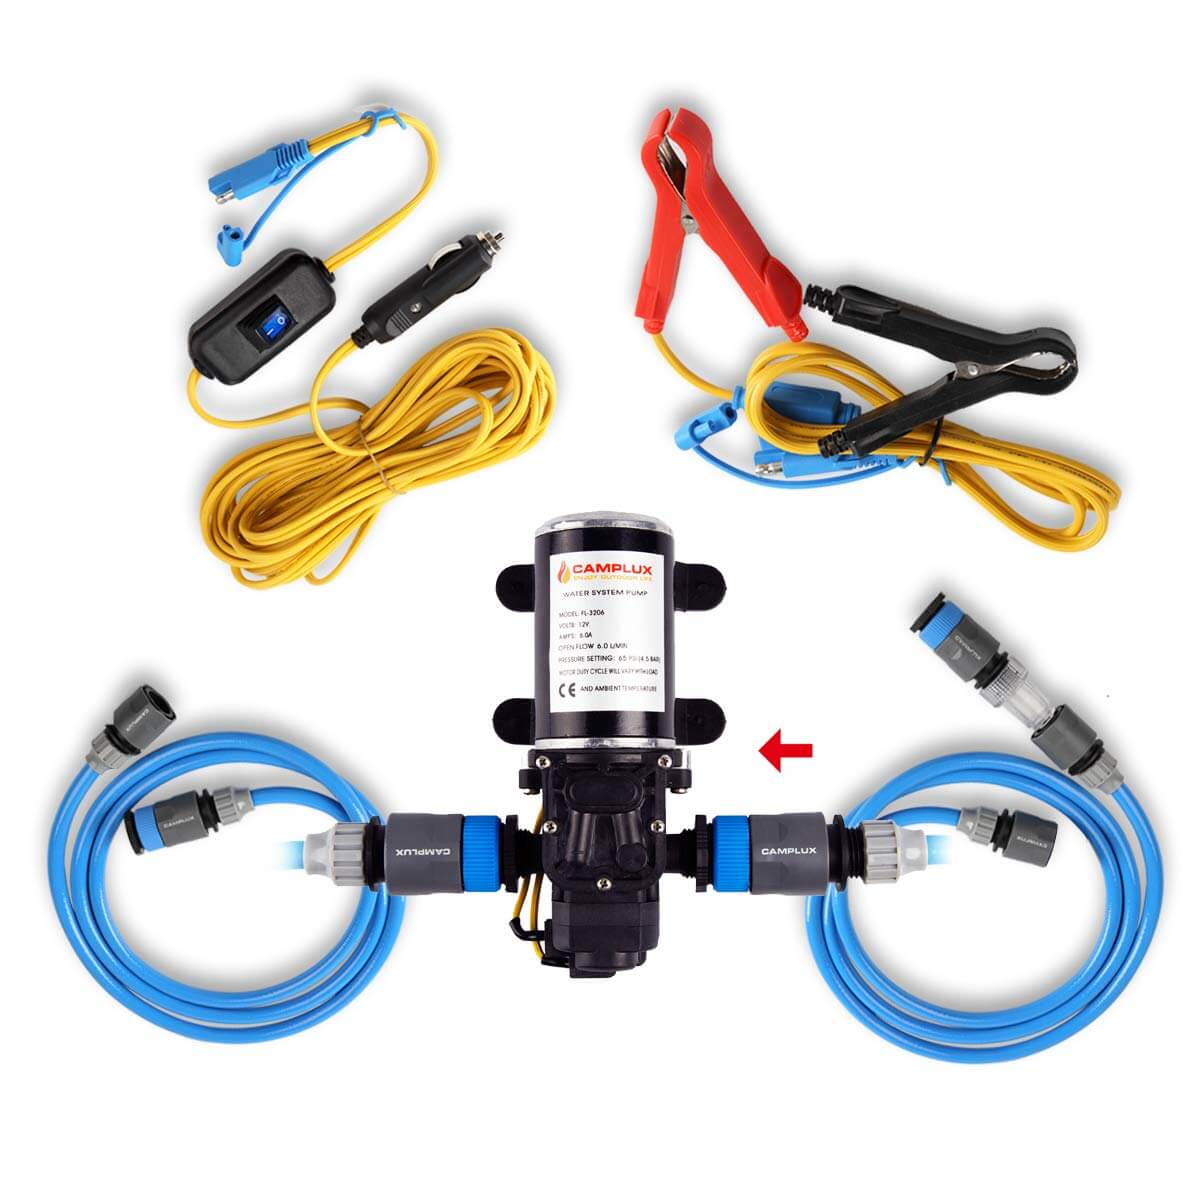
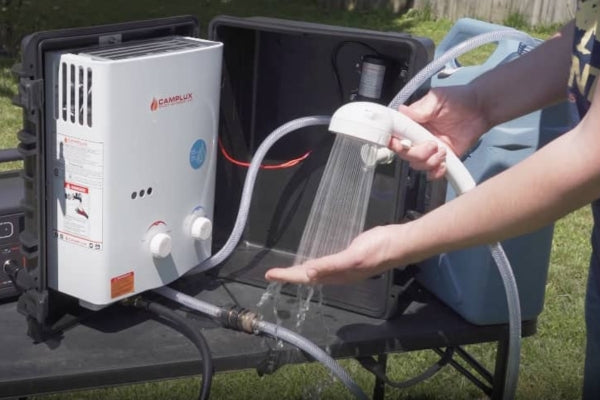
Next, connect the water source to the heater using the appropriate hoses and fittings. Remember to carefully follow the manufacturer's instructions to ensure a proper and secure connection. Once the setup is complete, you can proceed to the next step of connecting the gas supply. Make sure to check for any gas leaks by applying a soapy water solution to the connections and observing for bubbles. If no leaks are detected, you can safely proceed with operating the water heater.
Once you have found a suitable location for your Camplux Outdoor Water Heater, the next step is to connect the water source. Make sure to use a clean and freshwater source to ensure the best performance of the heater. You can connect the heater to a water container or a hose using the provided fittings. It is recommended to use a water filter or purifier to remove any impurities that may affect the heater's performance.
Here is a table showing the different water sources you can use:
| Water Source | Pros | Cons |
|---|---|---|
| Water Container | Easy to transport | Limited water capacity |
| Hose | Continuous water supply | Requires access to a water source |
Remember to check for any leaks after connecting the water source. If you notice any leaks, tighten the fittings or replace them if necessary. Always follow the manufacturer's instructions when connecting the water source to ensure proper operation of the Camplux Outdoor Water Heater.
Safety Tip: Never connect the heater to a non-potable water source as it may cause damage to the heater and pose health risks.
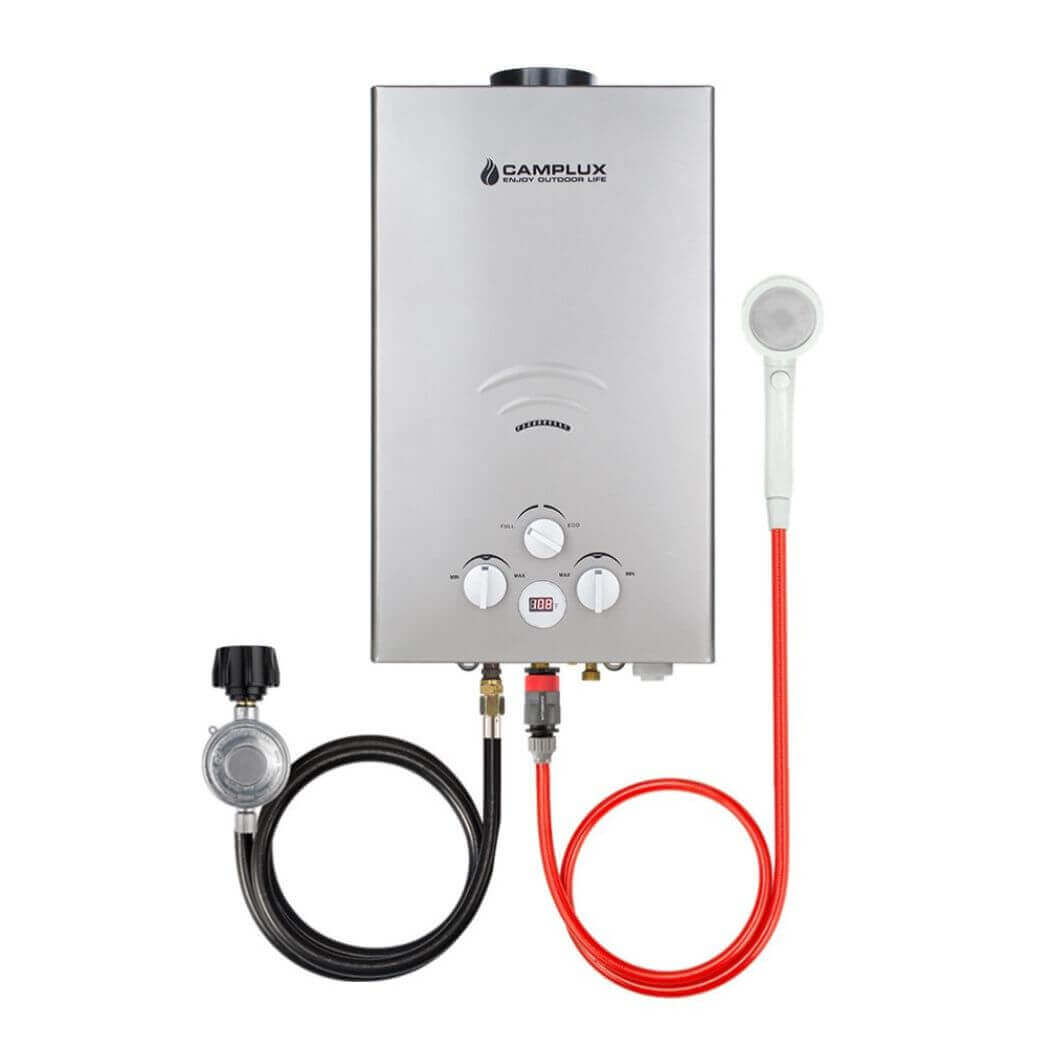
After finding a suitable location and connecting the water source, the next step is to set up the gas supply for the Camplux Outdoor Water Heater. Propane is the recommended fuel type for this heater. Make sure to use a high-quality propane hose to connect the heater to the propane tank. Check for any gas leaks by applying a soapy water solution to the connections and observing for bubbles. It is important to follow the manufacturer's instructions when connecting the gas supply to ensure proper operation and safety. Here is a table summarizing the steps to set up the gas supply:
| Gas Supply Setup Steps |
|---|
| 1. Choose a propane tank size suitable for your needs |
| 2. Attach the propane hose to the heater and the propane tank |
| 3. Ensure the connections are tight and secure |
| 4. Check for gas leaks by applying a soapy water solution |
| 5. Open the propane tank valve |
| 6. Test the heater by turning it on and adjusting the temperature |
Note: Always exercise caution when working with gas and follow safety guidelines to prevent accidents or injuries.
Monitoring the water flow is essential to ensure that the Camplux outdoor water heater is functioning properly. One way to monitor the water flow is by using the built-in flow rate indicator on the heater. This indicator allows you to easily check the rate at which water is flowing through the heater. Additionally, it is important to regularly inspect the water connection and hoses for any leaks or blockages that may affect the water flow. If you notice any issues with the water flow, it is recommended to clean the heater and check the water source for any obstructions. By monitoring the water flow and addressing any issues promptly, you can ensure a consistent and efficient hot water supply during your off-grid camping adventures.
| Water Flow Indicator | Description |
|---|---|
| Green light | Normal flow |
| Red light | Low flow |
To ensure the longevity and optimal performance of your Camplux outdoor water heater, regular cleaning and descaling is necessary. Scale and mineral deposits can build up over time, affecting the efficiency of the heater. To clean the heater, follow these steps:
It is important to avoid using harsh chemicals or abrasive materials that may damage the heater.
Once the cleaning process is complete, inspect the heater for any signs of damage or wear. If you notice any issues, contact the manufacturer for further assistance.
To ensure the safety of your camping experience, it is crucial to regularly inspect the Camplux outdoor water heater for gas leaks. Start by checking all the gas connections and fittings for any signs of damage or loose connections. Use a leak detection solution to identify any leaks by applying it to the connections and watching for bubbles. If you notice any bubbles forming, there may be a gas leak that needs to be addressed immediately. Additionally, make sure to ventilate the area properly to prevent the accumulation of gas. It is recommended to have a carbon monoxide detector in the vicinity as an added safety measure. Remember, safety should always be a top priority when using any gas-powered equipment while camping.
| Gas Leak Inspection Checklist |
|---|
| Check gas connections and fittings for damage or loose connections |
| Use a leak detection solution to identify any leaks |
| Ventilate the area properly |
| Install a carbon monoxide detector |
When it comes to storing the Portable Water Heater, it is important to follow some guidelines to ensure its longevity and safety. Firstly, make sure to drain all the water from the heater and disconnect it from the power source. Store the heater in a dry and well-ventilated area to prevent moisture buildup. It is recommended to cover the heater with a protective cover to shield it from dust and debris. Additionally, store the heater in an upright position to avoid any damage. Remember to check the condition of the heater regularly and perform any necessary maintenance tasks. By following these storage tips, you can ensure that your Camplux Outdoor Water Heater remains in good condition for your next camping adventure.
| Storage Tips |
|---|
| Drain the water from the heater |
| Disconnect from power source |
| Store in a dry and well-ventilated area |
| Cover with a protective cover |
| Store in an upright position |
| Regularly check and maintain |
It is important to follow these guidelines to ensure the longevity and safety of the heater.